
Ingredients:
1 cup milk
1 1/2 cup cream
1/2 cup sugar
1 tsp vanilla
1 pinch salt
With the days getting long and hot, I often crave a cold sweet treat. Here’s a vanilla ice cream recipe that doesn’t need any fancy equipment, and is a great base for chocolate or fruit to create your own custom flavours. While the recipe does take a little while to make, I can confidently say the results are worth it. All you need are basic ingredients, some elbow grease, and patience.
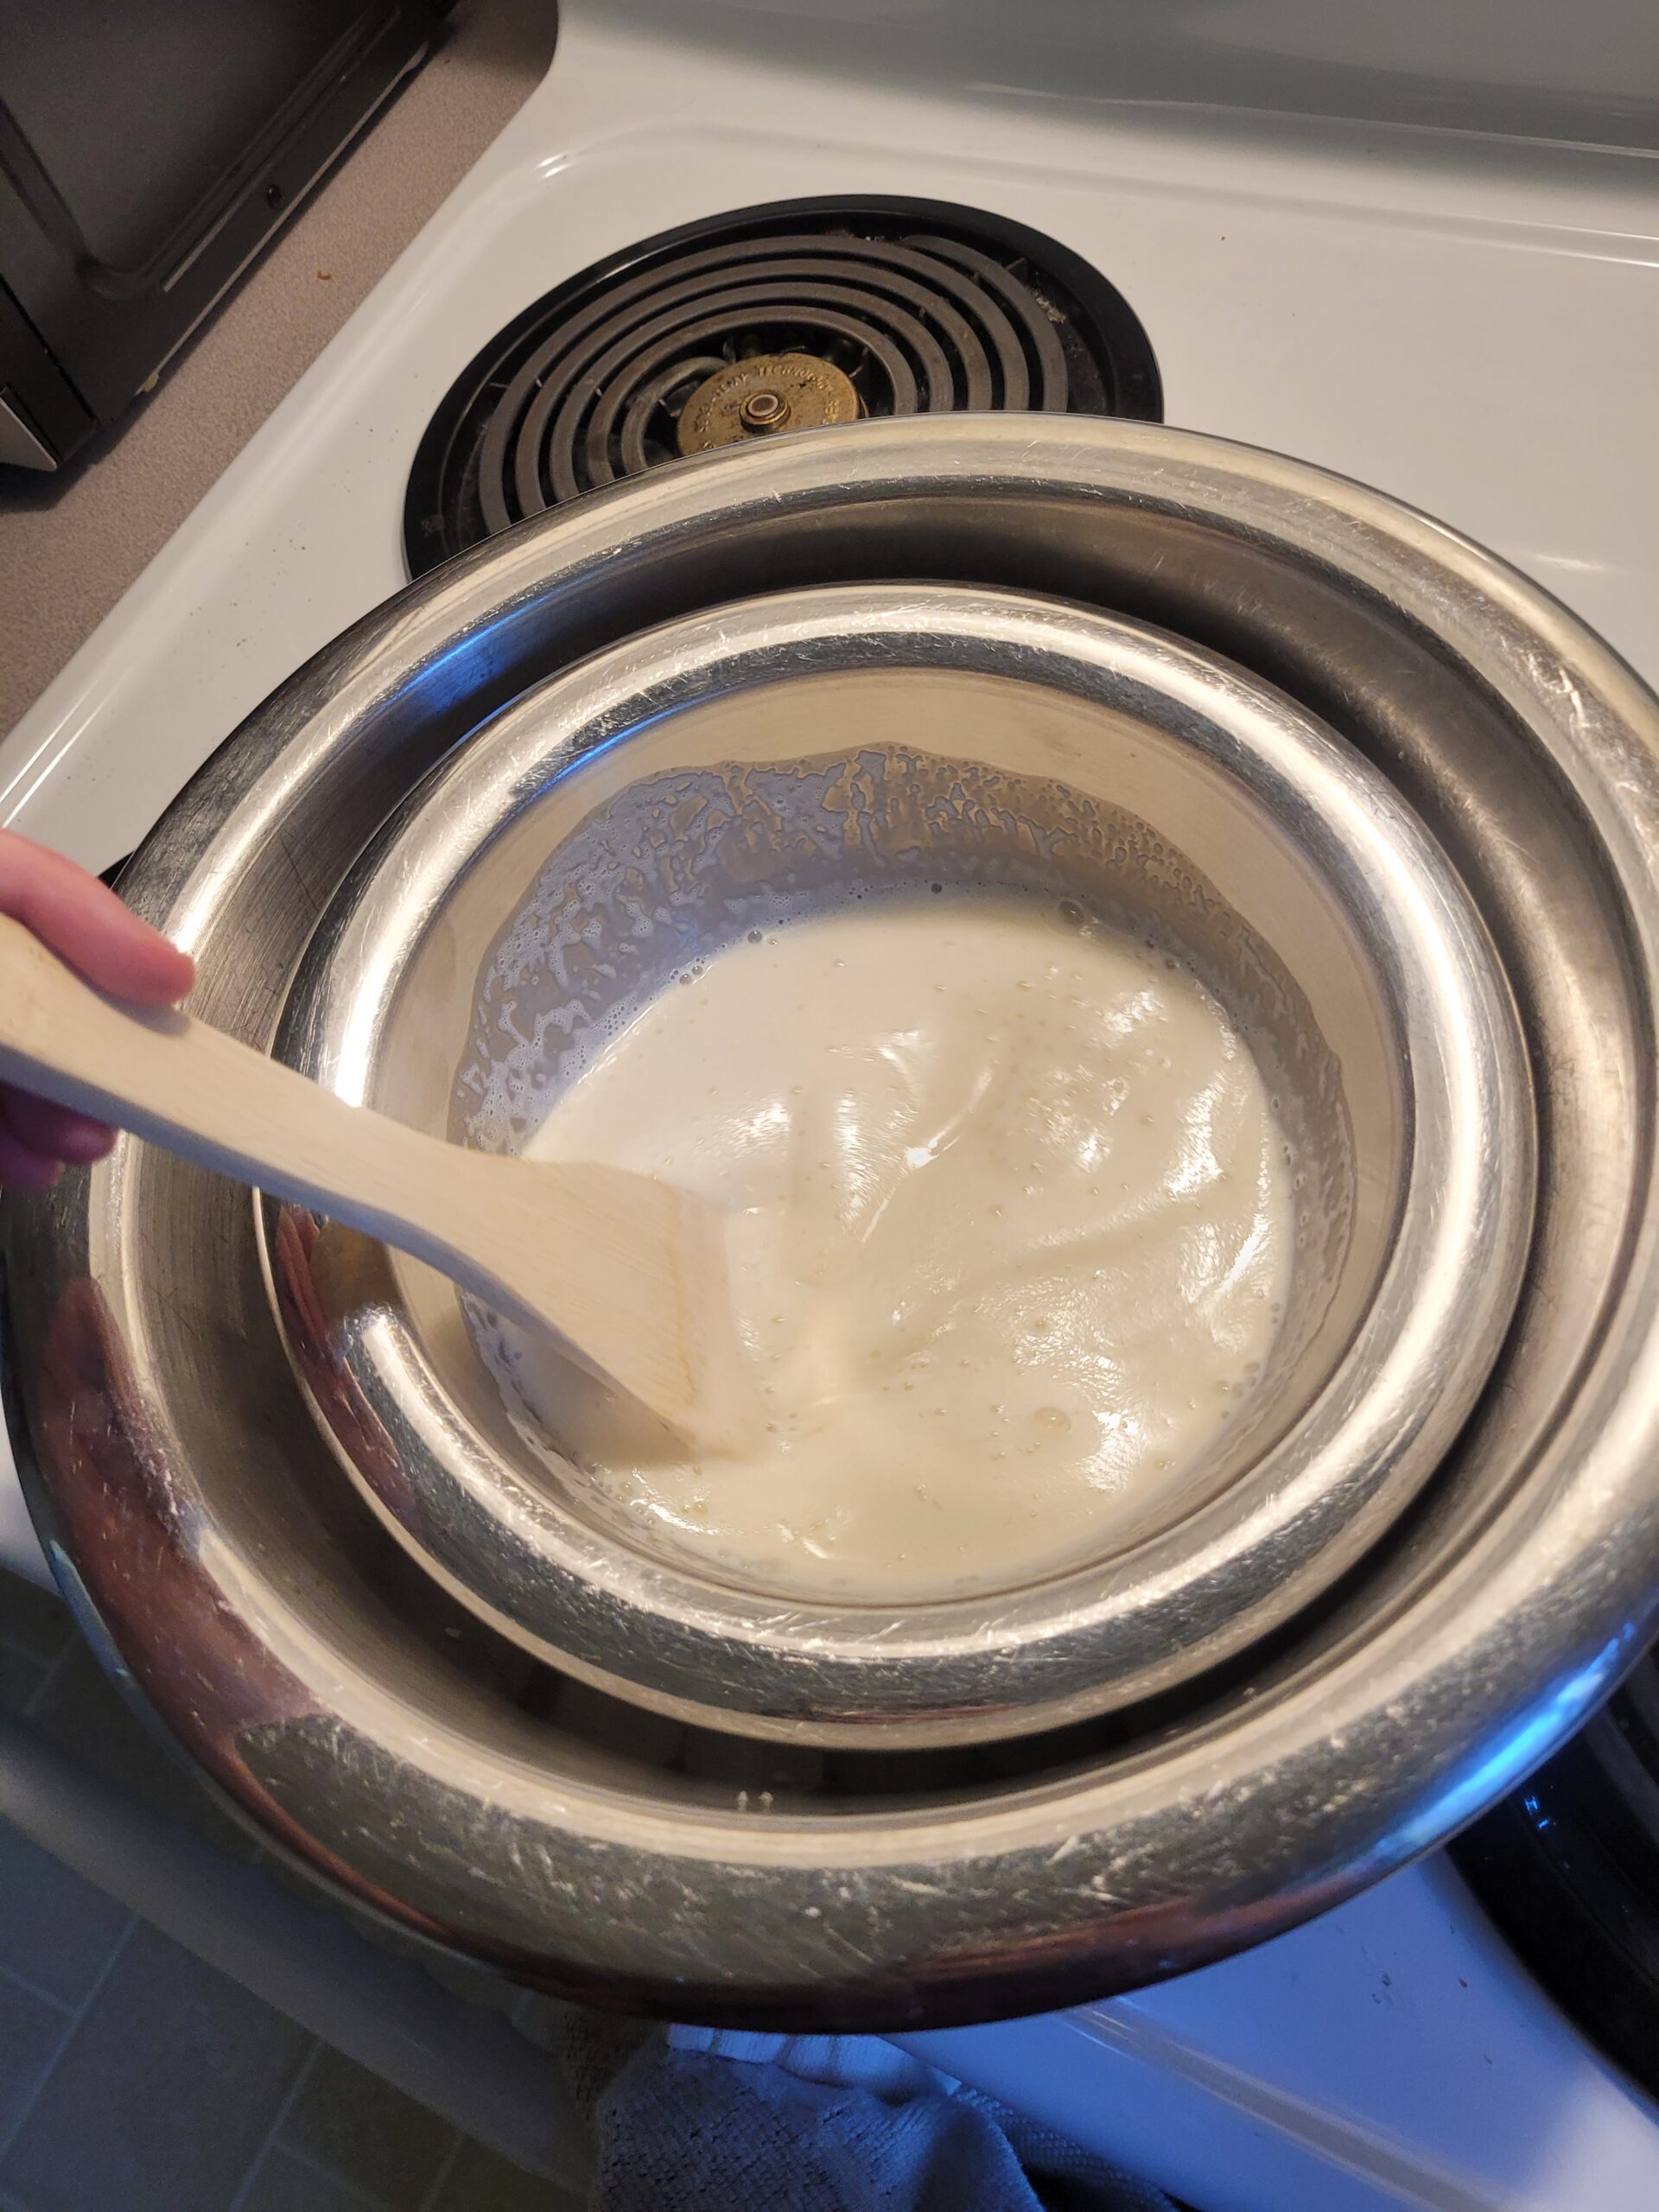
Start with pouring in 1 cup of milk and 1 1/2 cups of cream into a small pot or saucepan. Then add in the 1/2 cup of sugar, pinch of salt, and 1 tsp of vanilla extract. Set your stove on medium or medium-high. Gently stir the mixture as it comes to temperature—it’s ready to take off the heat when all the sugar is dissolved and there’s a light foam on its surface. When you’re heating this mixture, don’t leave it unattended; milk and cream can bubble a lot when heated too fast, which causes it to overflow. To prevent this, gently stir your mixture and turn the temperature down if it starts to boil.
Take your mixture off the heat and stir periodically—doing this will help release water vapour out of the mixture. The more water released now will help prevent ice crystals from forming in the ice cream. Put the mixture in the fridge to cool the rest of the way for at least 30 minutes.
While your mixture is cooling in the fridge, put your large and medium stainless-steel bowls and metal whisk in the freezer. It’s important for these tools to be as cold as possible for hand churning the ice cream.
Fill the large metal bowl with ice and a pinch of salt. The salt conducts the cold into the smaller metal bowl. Then, once done, place the smaller bowl into the larger frozen bowl and make sure the ice goes three-quarters of the way up the side of the small bowl. Pour the mixture into the smaller bowl and whisk. You’ll feel the mixture thicken to a point; when it stops getting thicker, put it in the freezer for 15 minutes. Mix in short bursts then put the ice cream mixture back into the freezer for about 10 minutes before mixing again. Keep doing this until you get your desired ice cream consistency. Personally, I stop at a soft-serve consistency.
It’s at the soft-serve-consistency stage when you can add anything you want: fruit, chocolate chips, crushed-up cookies—let your imagination run wild. Use a spatula to fold in your additives, then let set in the freezer for at least 10 minutes before serving.
Remember to make sure that your bowls, tools, and mixture are as cold as possible before you start hand churning. Otherwise, it can take three times as long for the ice cream to thicken.